Step 1: Create Your Account
Use the signup link shared by your Runa Sales contact. Once you’ve completed signup, you’ll land in our Playground Environment.
Step 2: Complete KYB
To unlock full access, you’ll need to verify your organization. In the Playground, you’ll see a green banner prompting you to complete our KYB (Know Your Business) check. This info goes to our compliance team for review. Once submitted, the UBOs (Ultimate Beneficial Owners) for your organization will receive an ID verification email from our third-party provider, SmartSearch.

Step 3: Merchant Approvals
You’ll automatically gain access to thousands of merchant assets. Some require extra approvals. If a merchant’s assets are unavailable, additional steps may be required to get access to those assets, or they may be reserved for Enterprise customers. Reach out to your Runa contact if more information is needed.
Step 4: Fund Your Account
To start sending payouts, you need to add funds to your organisation’s Runa Balance. You can fund the Runa Balance via bank transfer or card payment in any of 18 supported currencies. You can also hold and exchange currencies using Runa FX, or send in your preferred currency with conversion handled automatically in the background.
Go to “Billing + Finance” → “Balances” → “Add” and follow the steps to top up.
Watch Runa Balance tutorial and see how to send individual payment:
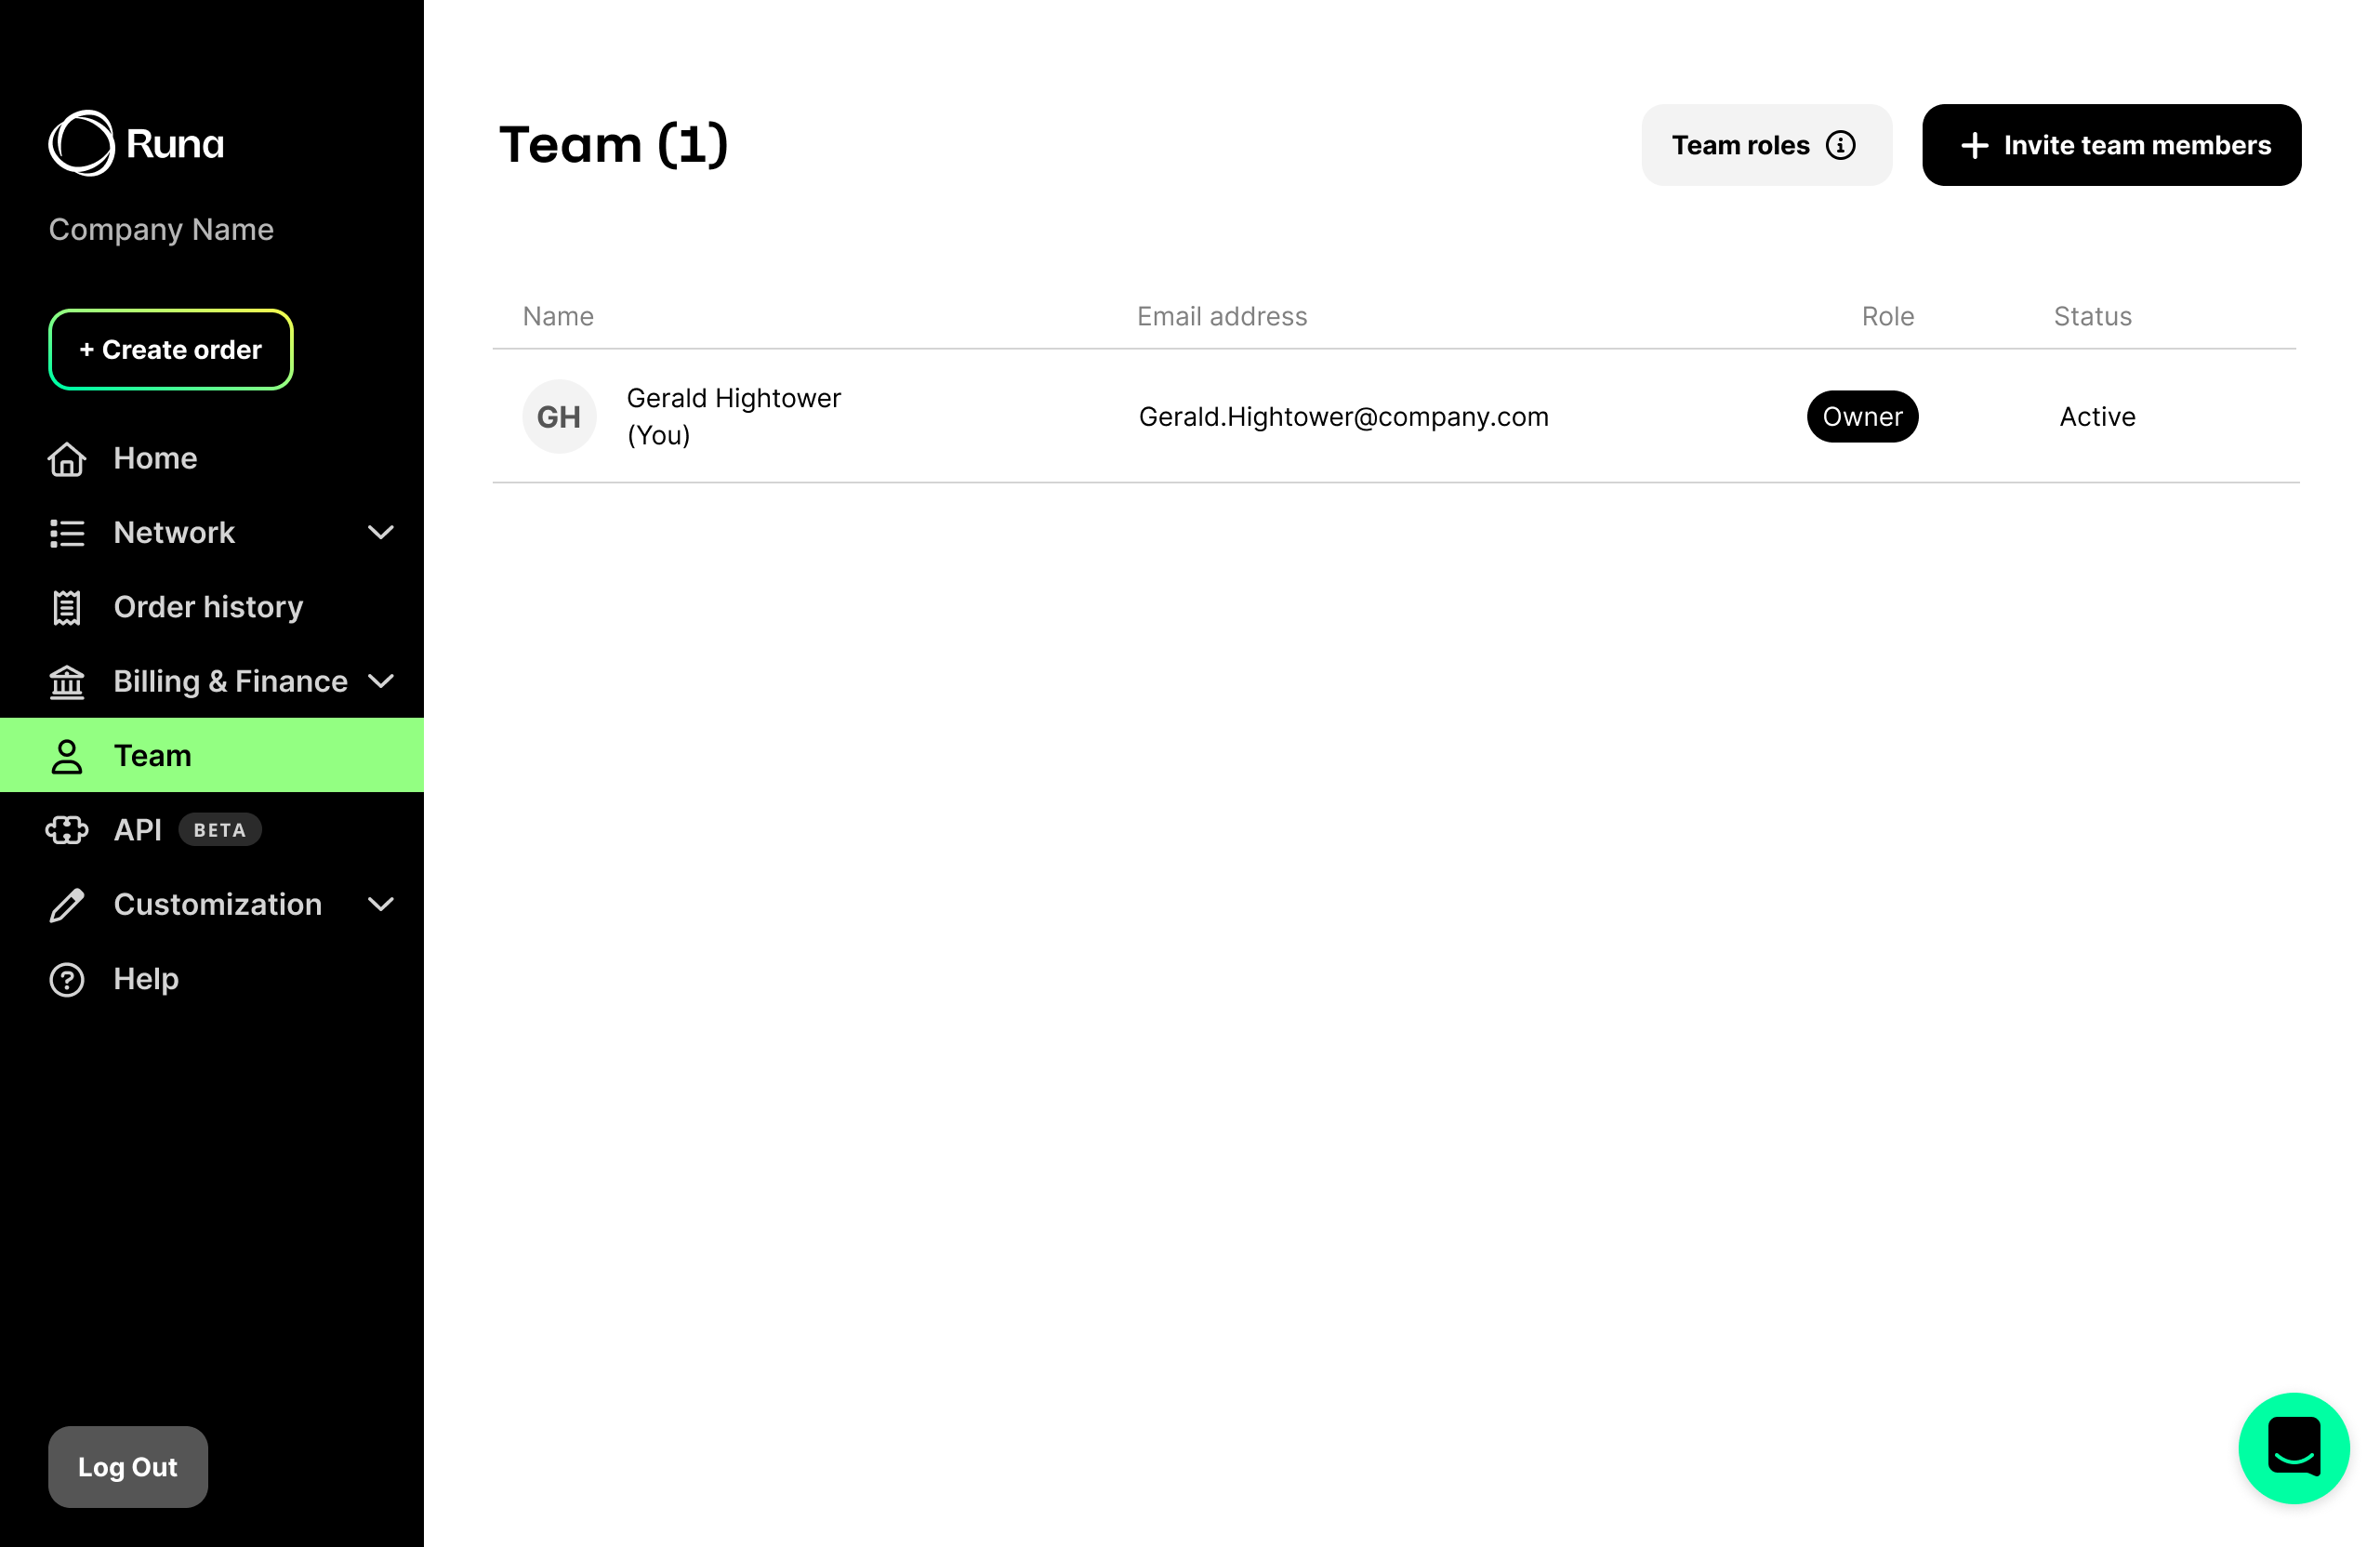
Step 5: Add Team Members
Need others to manage payouts? Go to “Teams” → “Invite Team Members” and assign roles. You’ll be prompted to include the Authorised User’s email as well as choosing their applicable role within your organisation and you’ll need to complete KYB before adding users.
Step 6: Send a Payout
You’re ready to send your organisation’s first payout. Whether you’re integrating with our API or using the Runa Portal, here’s how to get it done.
Using the API
Access our [API Docs] to integrate and automate payouts through your workflow.
Manual Payouts via Portal
Go to “Create an Order” on the left sidebar. Choose “Individual Payout” or “Mass Payout” and follow the prompts.
Individual Payouts
• Choose amount and currency
• Select payout types (gift cards, prepaid cards, pay to card)
• Confirm selection, choose delivery method (email or URL), and pay
Mass Payouts
• Choose currency and payout types
• Upload a .CSV with VALUE (required), DELIVERY_EMAIL, and NOTES
• Review and confirm your order, then pay
Step 7: Recipient Experience
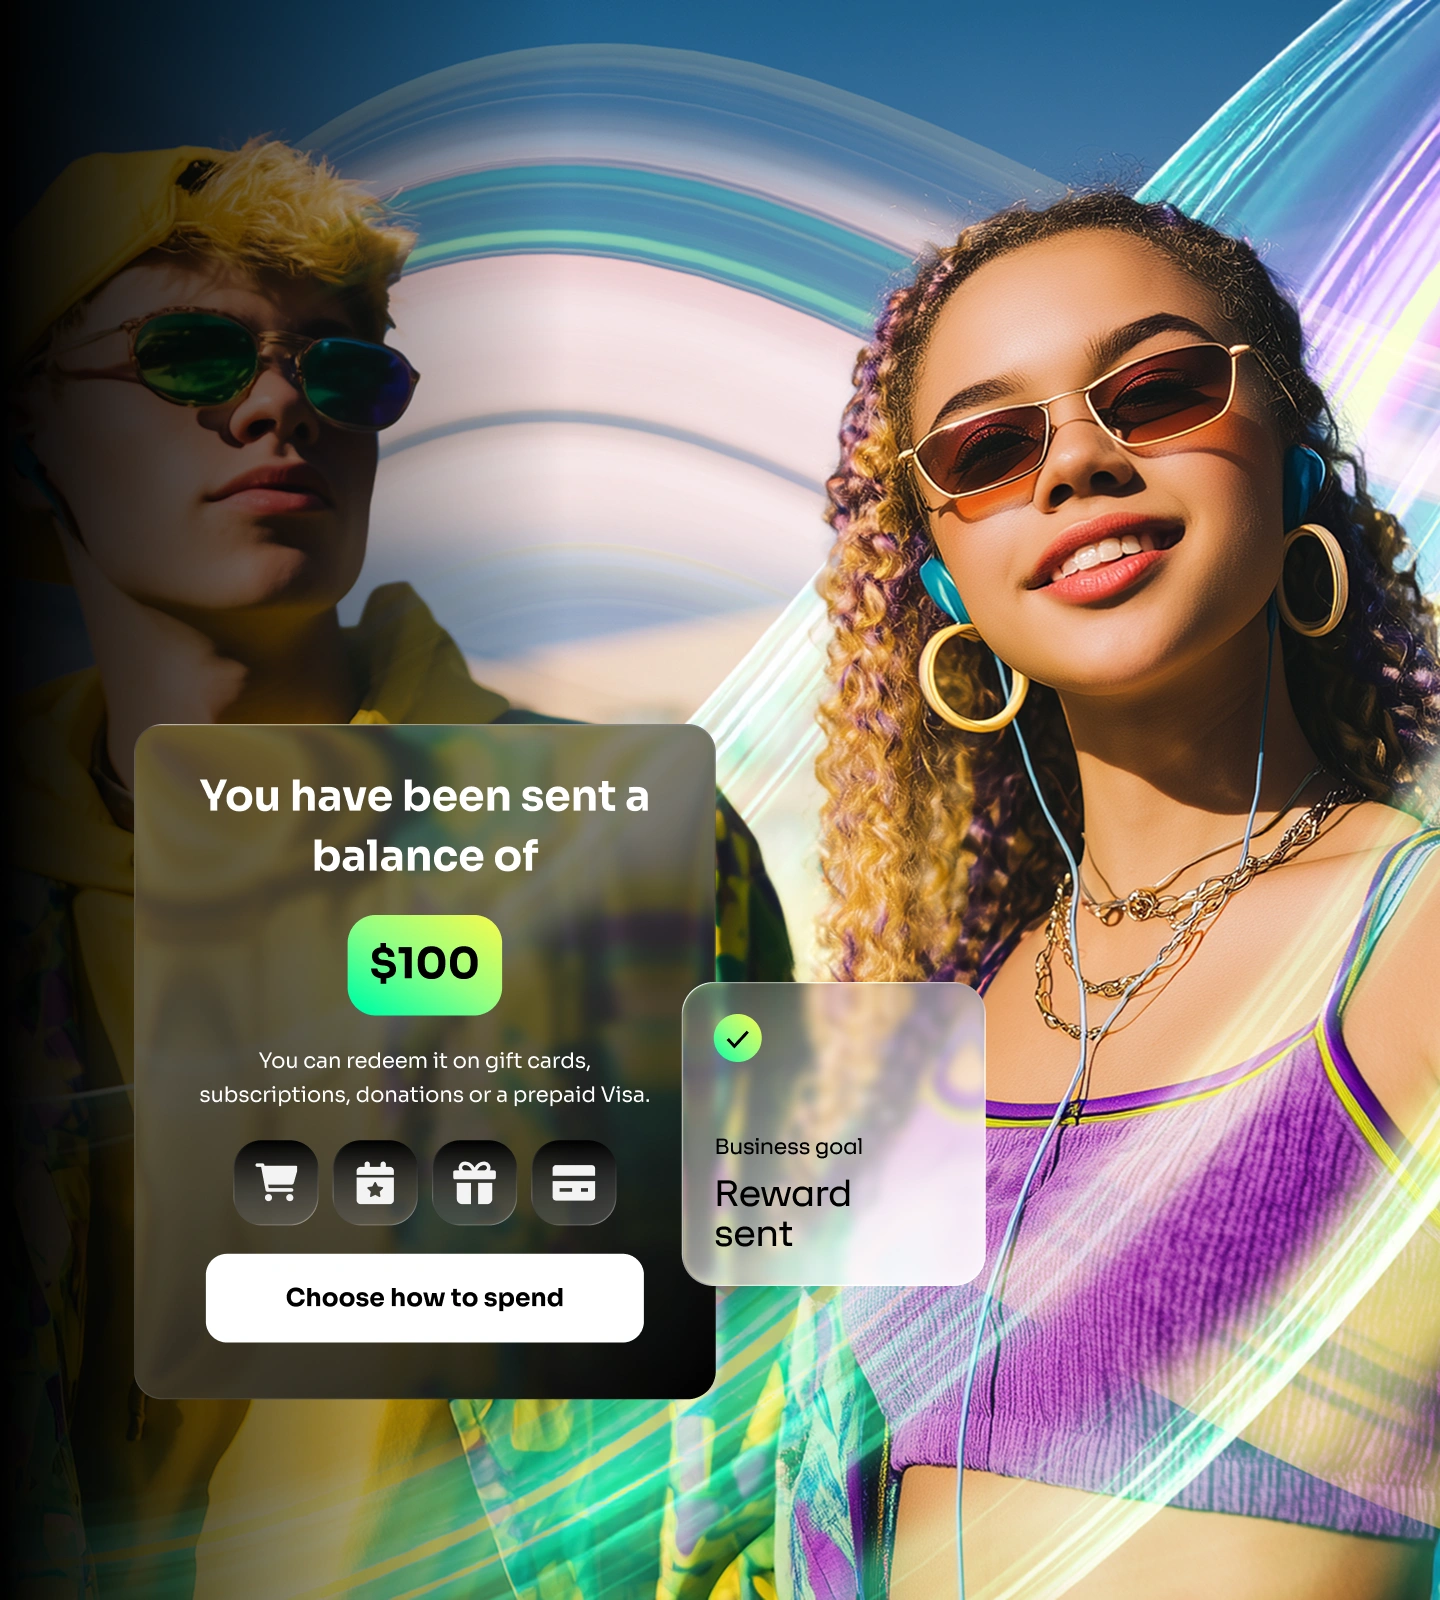
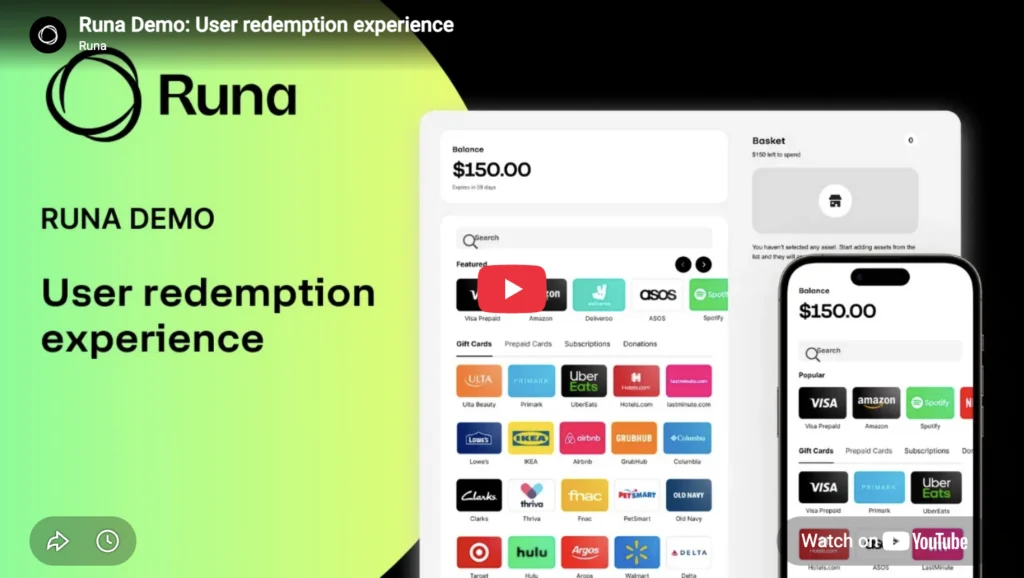
Once a recipient receives their payout link, redeeming is quick and intuitive. After clicking the “Choose How to Spend” link sent via email, they’ll follow a few simple steps:
• Click “Continue” and then “Get Started”
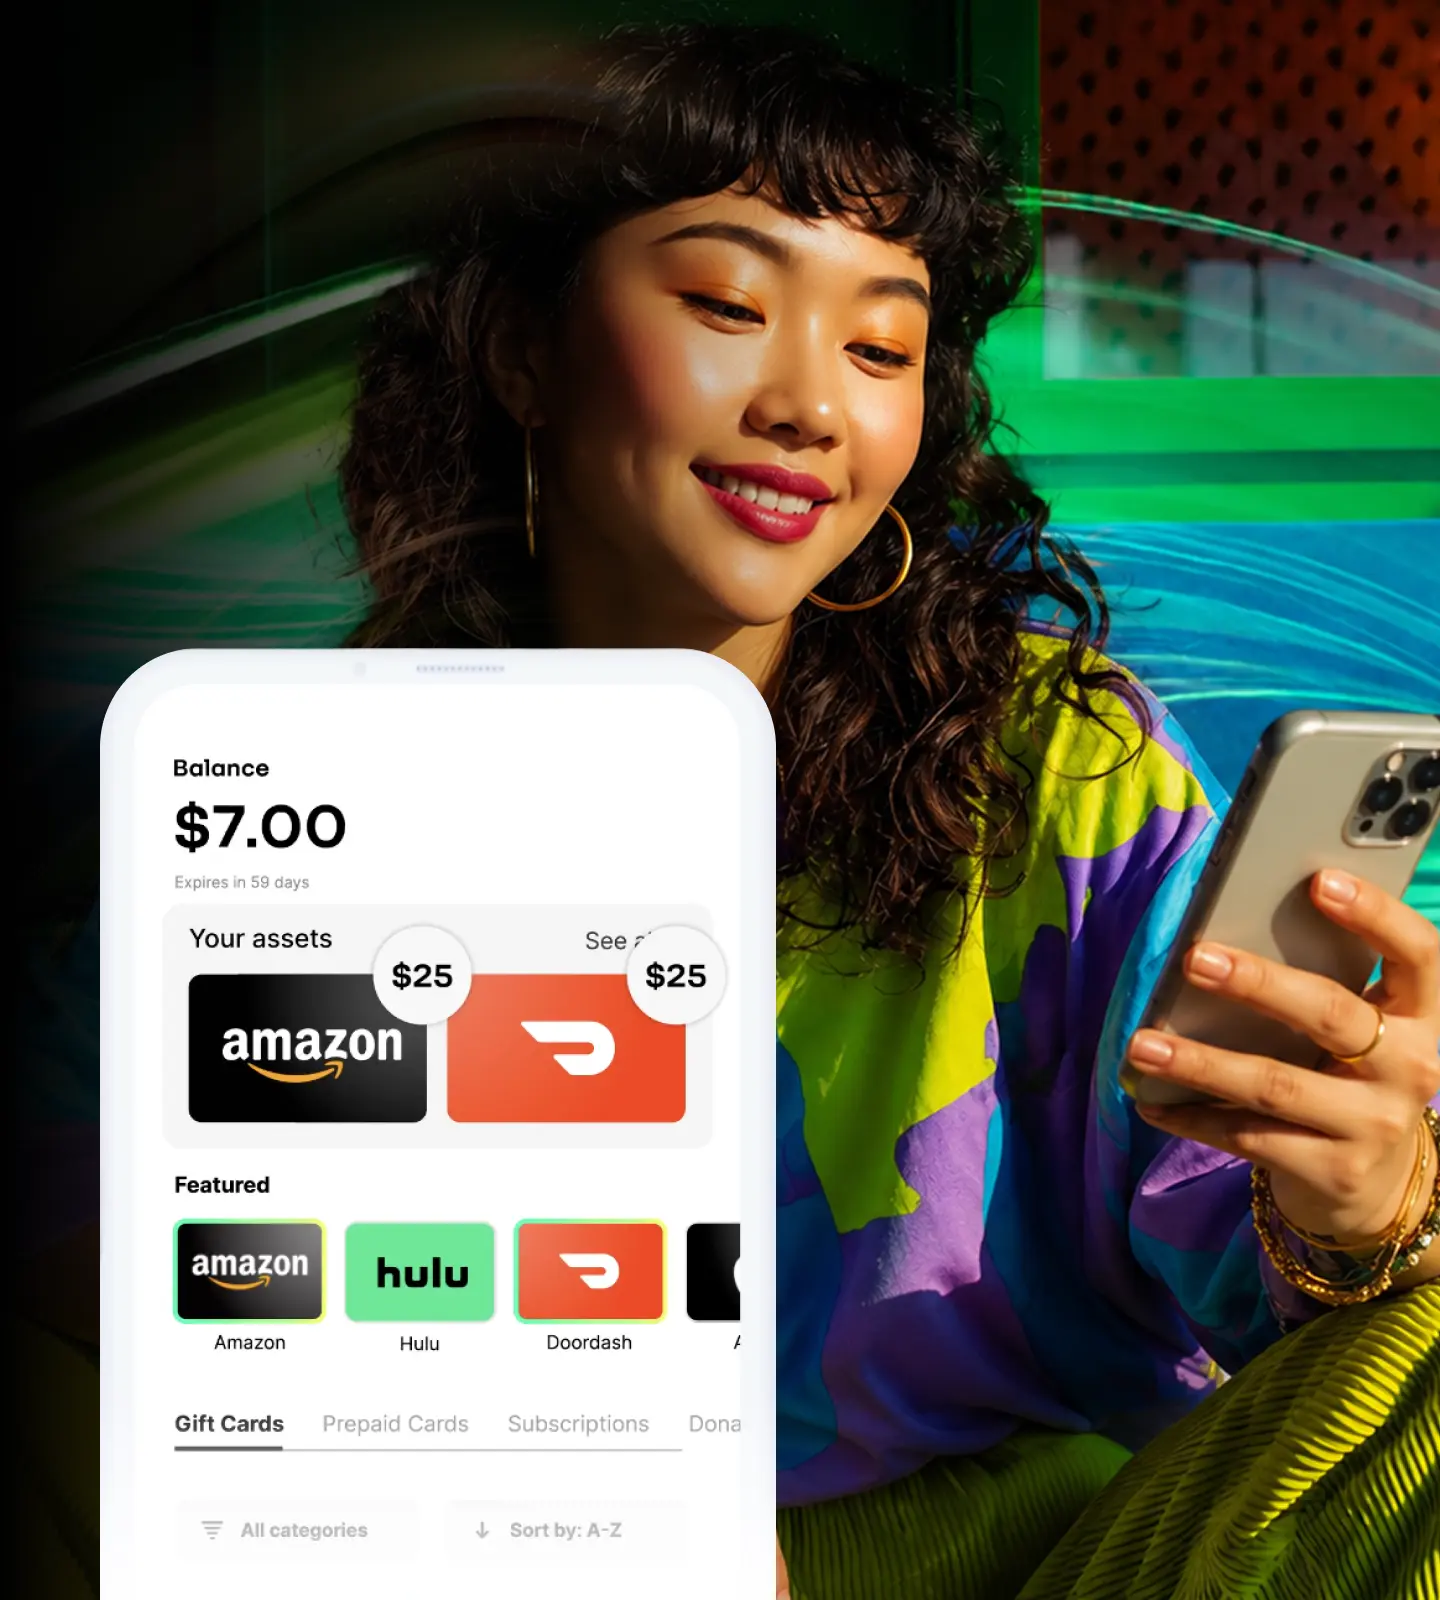
• Choose one or multiple merchants from the options available
• Allocate the full payout amount to one merchant or split it across several
• Click “Confirm Selection”
• A confirmation message will appear: “Your payouts have been created”
• View all redemption details: card number, instructions, and terms of use per merchant
That’s it—the payout is ready to be used online or in-store.